Optical Emissions Spectrometry / Laser Induced Breakdown Spectrometry
Optical Emissions Spectrometry (OES) and Laser Induced Breakdown Spectrometry (LIBS) are fast, affordable field tests used to identify characteristics of unknown pipe.
Specifically, OES and LIBS are used to determine chemical composition, including carbon equivalency (CE) values. CE values are used to support welding procedures and provide documentation required for the Positive Material Identification (PMI) process. OES/LIBS are the only reliable ways to measure carbon and carbon outside of a laboratory.
Applications include pipe body, longitudinal weld seams and fittings.
Key Features
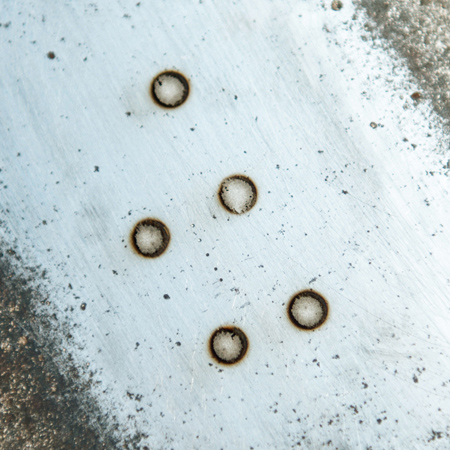
- Measures the intensity of spectral peaks formed when a spark or laser creates a plasma on the pipe and causes electrons in the pipeline to emit light. All measurements meet stated accuracy tolerances
- Trusted technology that is less expensive and faster than sending a sample to a laboratory for analysis
- Third party validation of the TDW OES method proves the non-destructive nature of the polished and etched cross section under an optical microscope with a maximum depth of penetration of only 0.03302 millimeters (0.00013 inches)
