Ultrasonic Testing

Ultrasonic testing uses high frequency sound energy to accurately detect, locate and size a variety of defects and assist in material characterization. Technologies include manual, semi-automatic and automated ultrasonic (UT-0°) scanning, conventional shear wave ultrasound and manual UT-0° testing straight-beam.
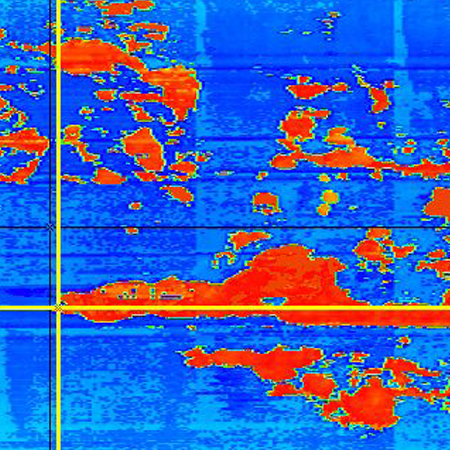
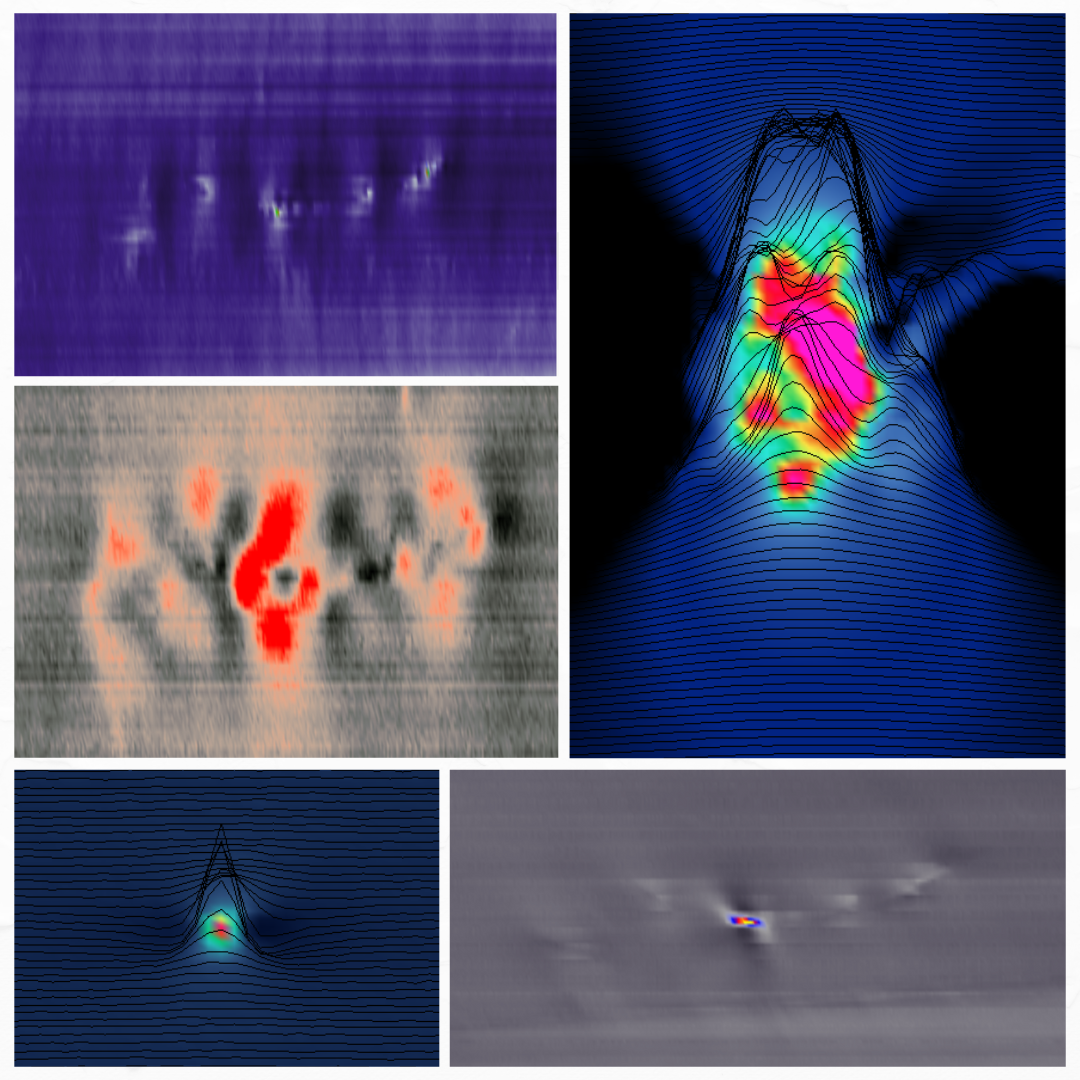
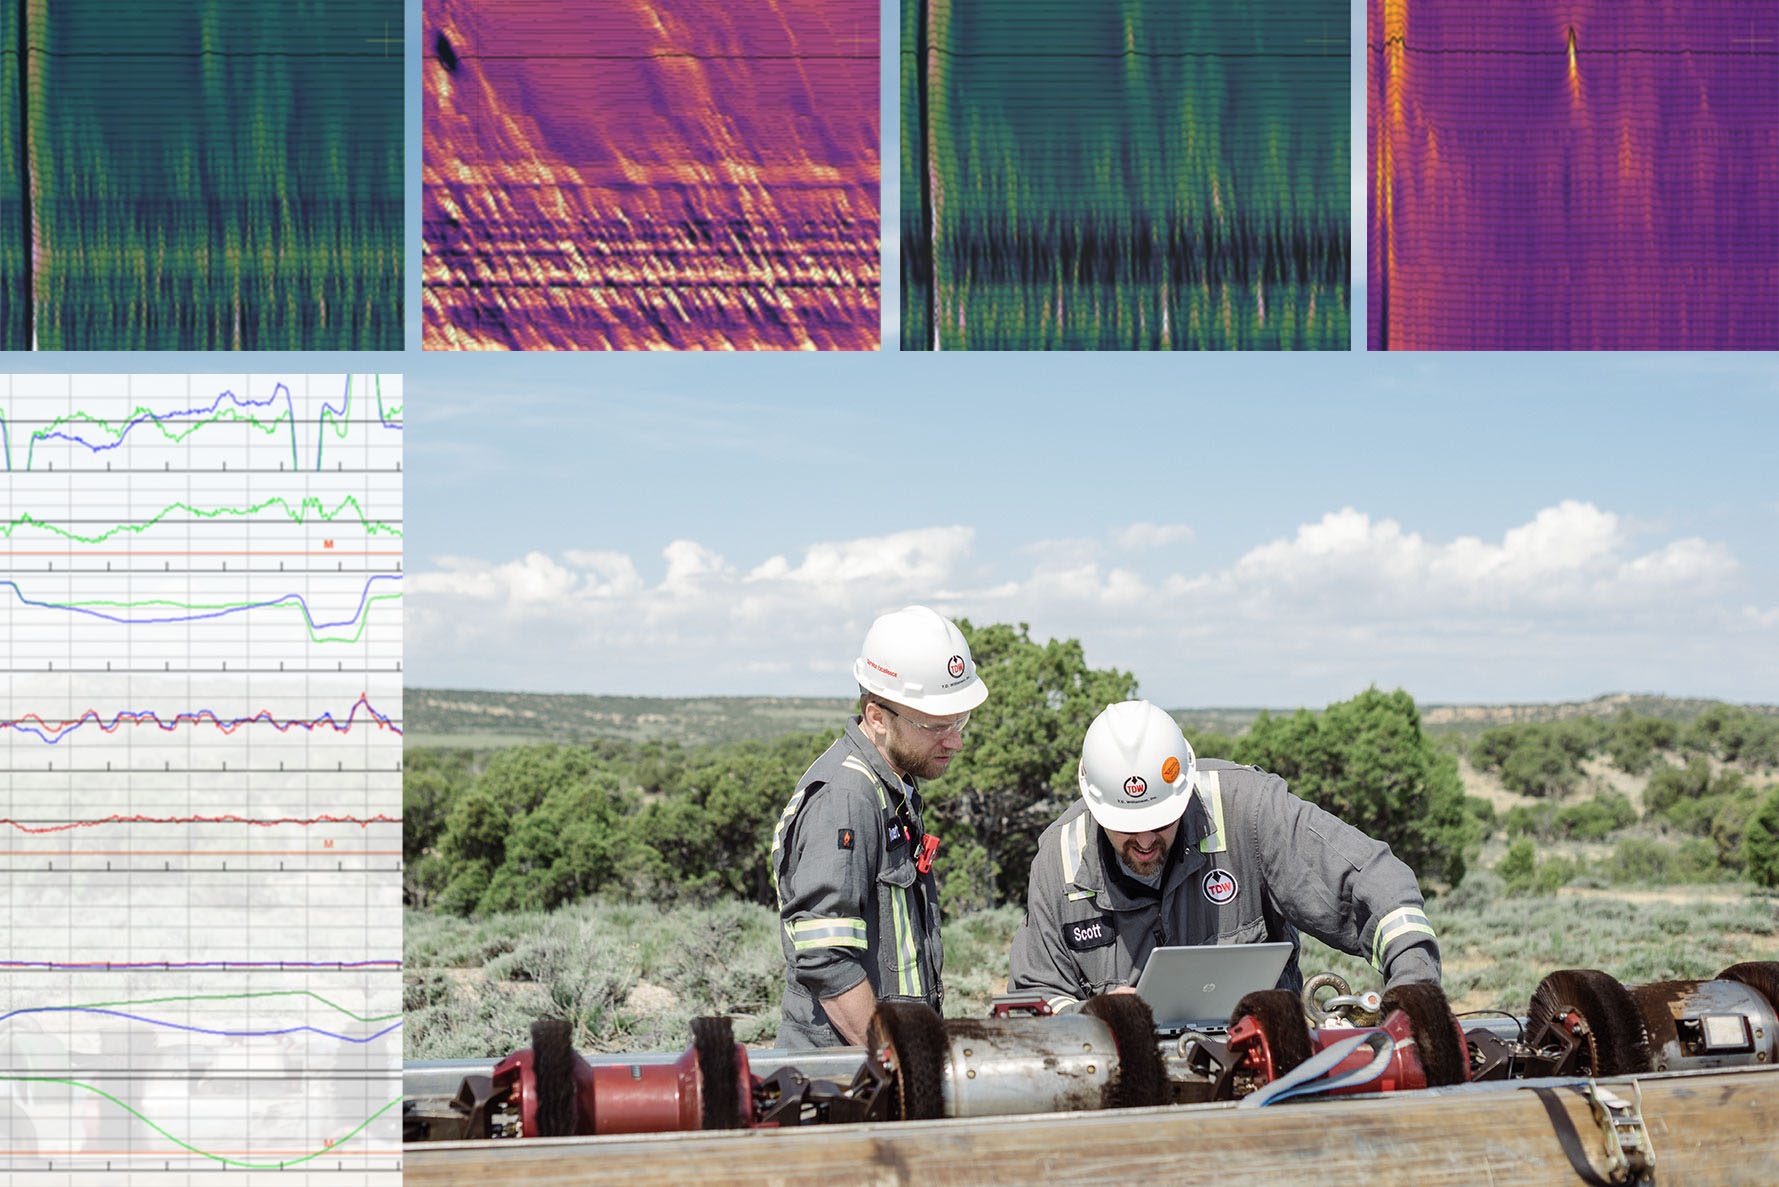
Permanent documentation of the readings and screen shots of the affected areas help ensure pipeline integrity, prioritize remediation efforts, demonstrate code compliance and prepare for detailed audits.
Key Features
- To ensure efficient and accurate results, technicians single out the proper transducer for each project based on wall thickness and the expected anomaly type. All TDW technicians have transducers sized for small manual scanning projects, along with pencil probes that provide a “point” inspection of an area
- Automated UT-0° scanning is repeatable. Operators can compare the position and size data of each defect or corrosion cell to track growth and/or corrosion rates
- All reports easily import into strength calculation and other integrity software

